Fitting CST Carbon Wings To Your B14
This will involve drilling and possibly cutting carbon fibre tube. Use appropriate safety equipment, i.e. safety glasses and dust mask.
- 1. Fitting the wings to the wing horns
- If your wing horns align with the wing trenches in the deck then the wings should slide straight on. If this is not the case, the wing socket hole will need to be elongated or enlarged to suit using a drill or round file.
- 2. Fit a spacer to the outer end of the wing trench
- Use some 6mm foam. A strip about 50mm wide works quite well. This can be glued into the trench and left there. Alternatively, cut a small block from some 6mm timber and tape it down at the outer end of the trench.

- This is to ensure that the carbon does not contact the lip at the end of the trench and get a point loading issue that could lead to failure. As insurance against this and to spread the load from the pin to the tube, the wing has a plastic sleeve inside it spanning the pin hole and gunwale areas.
- 3. Check wing span
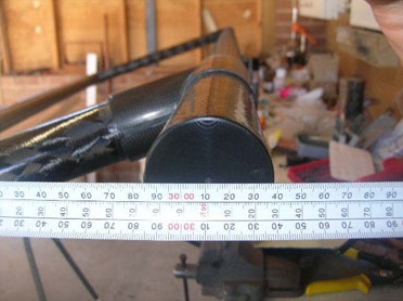
- Under the class rules, the maximum span of the wings is from the centre line out 1520mm each side making a maximum wing span of 3040mm. It is important that it is set up carefully at this stage so that modification to your wings is not required at an event. Measure twice cut once.
- Put each wing in position ensuring that all sockets are on the horns properly with the same penetration. Measure the wing span from the outer edge of the outer tube to the outer edge of the other wing. Do this at the front and rear of the wings.

- If your wings are over size, halve the extra and trim that much off the inner end of each perpendicular. The plastic sockets are held in with an M5 screw which, when removed, will allow easy removal of the socket. Once the tube is cut, the end can be sanded to ensure a flat end. Reinsert the socket and recheck the measurement.
- When the measurement is correct, drill a new hole in the tube so the M5 screw can be reinstalled through to the socket.
- 4. Drill Pin hole
- Carefully mark the center of the saddle hole on the tube. Use masking tape on the tube so you can see the mark. Mark each side of the tube. Drill a pilot hole (about half diameter of pin) through the tube wall. When you have done both sides, the wing can be reinstalled and a rod put through the holes to check the alignment with the saddles. If a hole is off center, it can be enlarged towards the correct direction with a round file. Do this before moving onto the final pin size hole so that the final alignment is correct.

- 5. Mount transport saddle
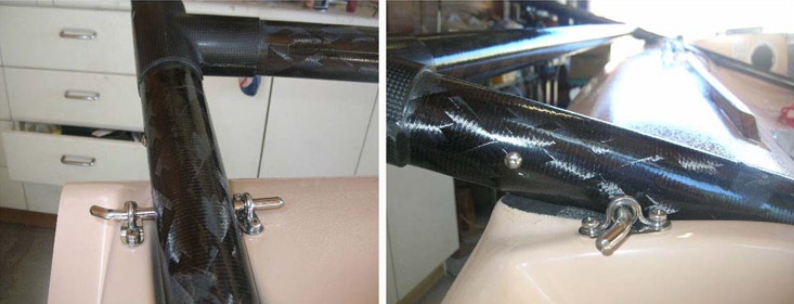
- Due to the rigidity of the carbon wing assembly, they do not sit on the deck as flat as the aluminium wings. Mount transport saddles on the starboard wing and then fold the port wing on top. Drill a 5mm hole for the Monel 6-6 pop rivet and fasten a ferrule saddle with a backing plate to the bottom of the perpendicular tube next to the joint molding. A Riley RM193 saddles and Ronstan RF27 with the holes drilled out to 7mm fits together. Apply a bit of epoxy glue under the plate and in the holes before riveting.

- 6. Install lead correction weight
- The International Class Association requires lead correction weight until advised otherwise. This is so that there is no weight advantage by using carbon wings compared to the aluminium wings. Each wing set is require to weigh in at not less than 19.7kg without trampolines, ropes or fitting.
- Lead added to each wing shall be in two equal amounts, bonded inside the outer tube at a point where the perpendiculars intersect the outer tubes.
- This can be easily achieved by getting 4x100mm lengths of 50mm lead round and securing them to each end cap of the outer tube. Possible drainage hole should be drilled at the bottom of the tube or end fittings.

We publish this information in good faith and to assist our customers to get the best performance out of their equipment, we do not take responsibility for customer assembly.
