How To Track Your Mast
Before starting this process, check to ensure that you have all relevant tube and sleeving. Review your mast layout and spend some time preparing. Some tubes have stiffened bands and track faces, so make sure you understand where these are to be located before commencing gluing. Remember, measure twice and cut once.
- Once you have glued your mast together, support your mast at the base and about 2/3 the way up the mast. Identify your track face or rotate the mast while looking from base to tip and watch the tip of the mast scribe a circle. When it reaches the top of the circle, this is your track face. Check for stiffening band alignment.
- Mark this face at both ends of the mast.
- Mark your start and finish position of the track on the mast.
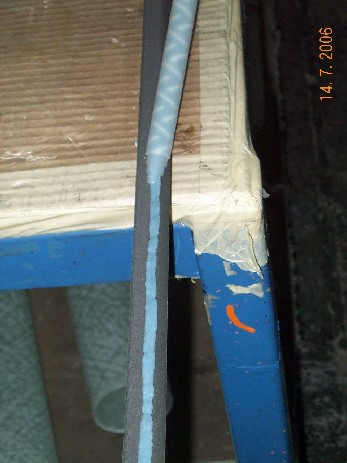
- Review your track supply and decide where you want the track to join. It does not have to join at the mast join; this can be cut through later with a hacksaw. Once tracked, cut through until the hacksaw is almost level with the top of the mast, then twist to separate sections.
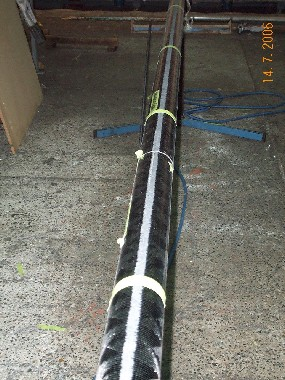
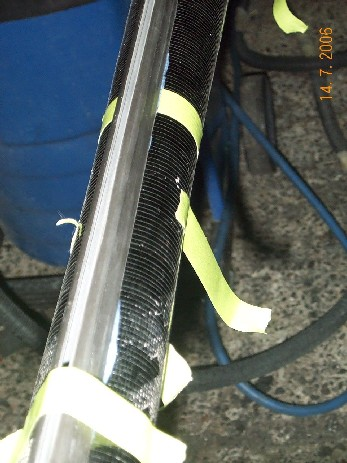
- Cut the track to length and match the track joins if using two or more lengths of track. Place strips of masking tape across the mast every 500mm. Dry fit the track on top of this tape. Look along the track from both ends, moving it and taping it to make it straight along the length. Once it is straight, score the tape that is underneath with a knife on both sides of the track. Remove the track, then remove the scored bits of tape that were under the track. This will leave you with a straight line for gluing.


- Lightly sand the mast where it will be glued, then wipe with Acetone.solvent to clean.
- Remove peel ply from the back of the track and wipe with acetone solvent.
- Place some 120mm strips of masking tape along the mast every 500mm or so. These will be used to tape the track down in position on the mast.
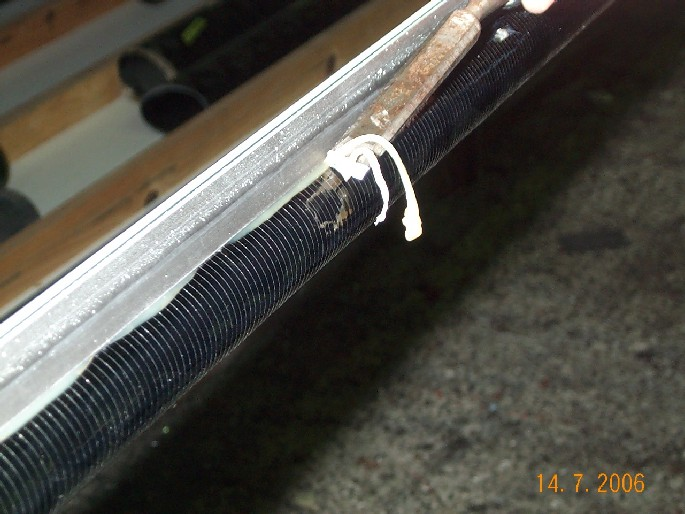
- Apply a bead of plexus adhesive (purge the first bit of plexus as it may not be mixed) approx 3mm wide along the back of the track. Place the track onto the mast and tape down to the mast with masking tape. Apply pressure to the track so that the glue starts to squeeze out. Check the track is straight by sighting along it from the tip and the base before the glue sets and adjust your taping as necessary. If gluing two sections of track onto your mast, apply one at a time as plexus cures quickly.


- Cut off any excess glue with a knife or sharp chisel. It is easiest to remove the plexus once it has started to cure (turns a yellow colour) but before it full hardens. Apply small black silicone cover to seal between the track and mast.

We publish this information in good faith and to assist our customers to get the best performance out of their equipment, we do not take responsibility for customer assembly.
× ![]()
